Abstract collage kits are now available! Choose from two sizes: 6” x 6” or 10” x 10”. No two kits are the same! The included paper packs feature collage materials of many different colors, textures, and patterns - with solids to provide balance. Let your imagination and exploration flow and enjoy the process of art-making!
DIY Curated Collage Kits!
Available in sizes 6x6 ($42) and 10x10 ($55).
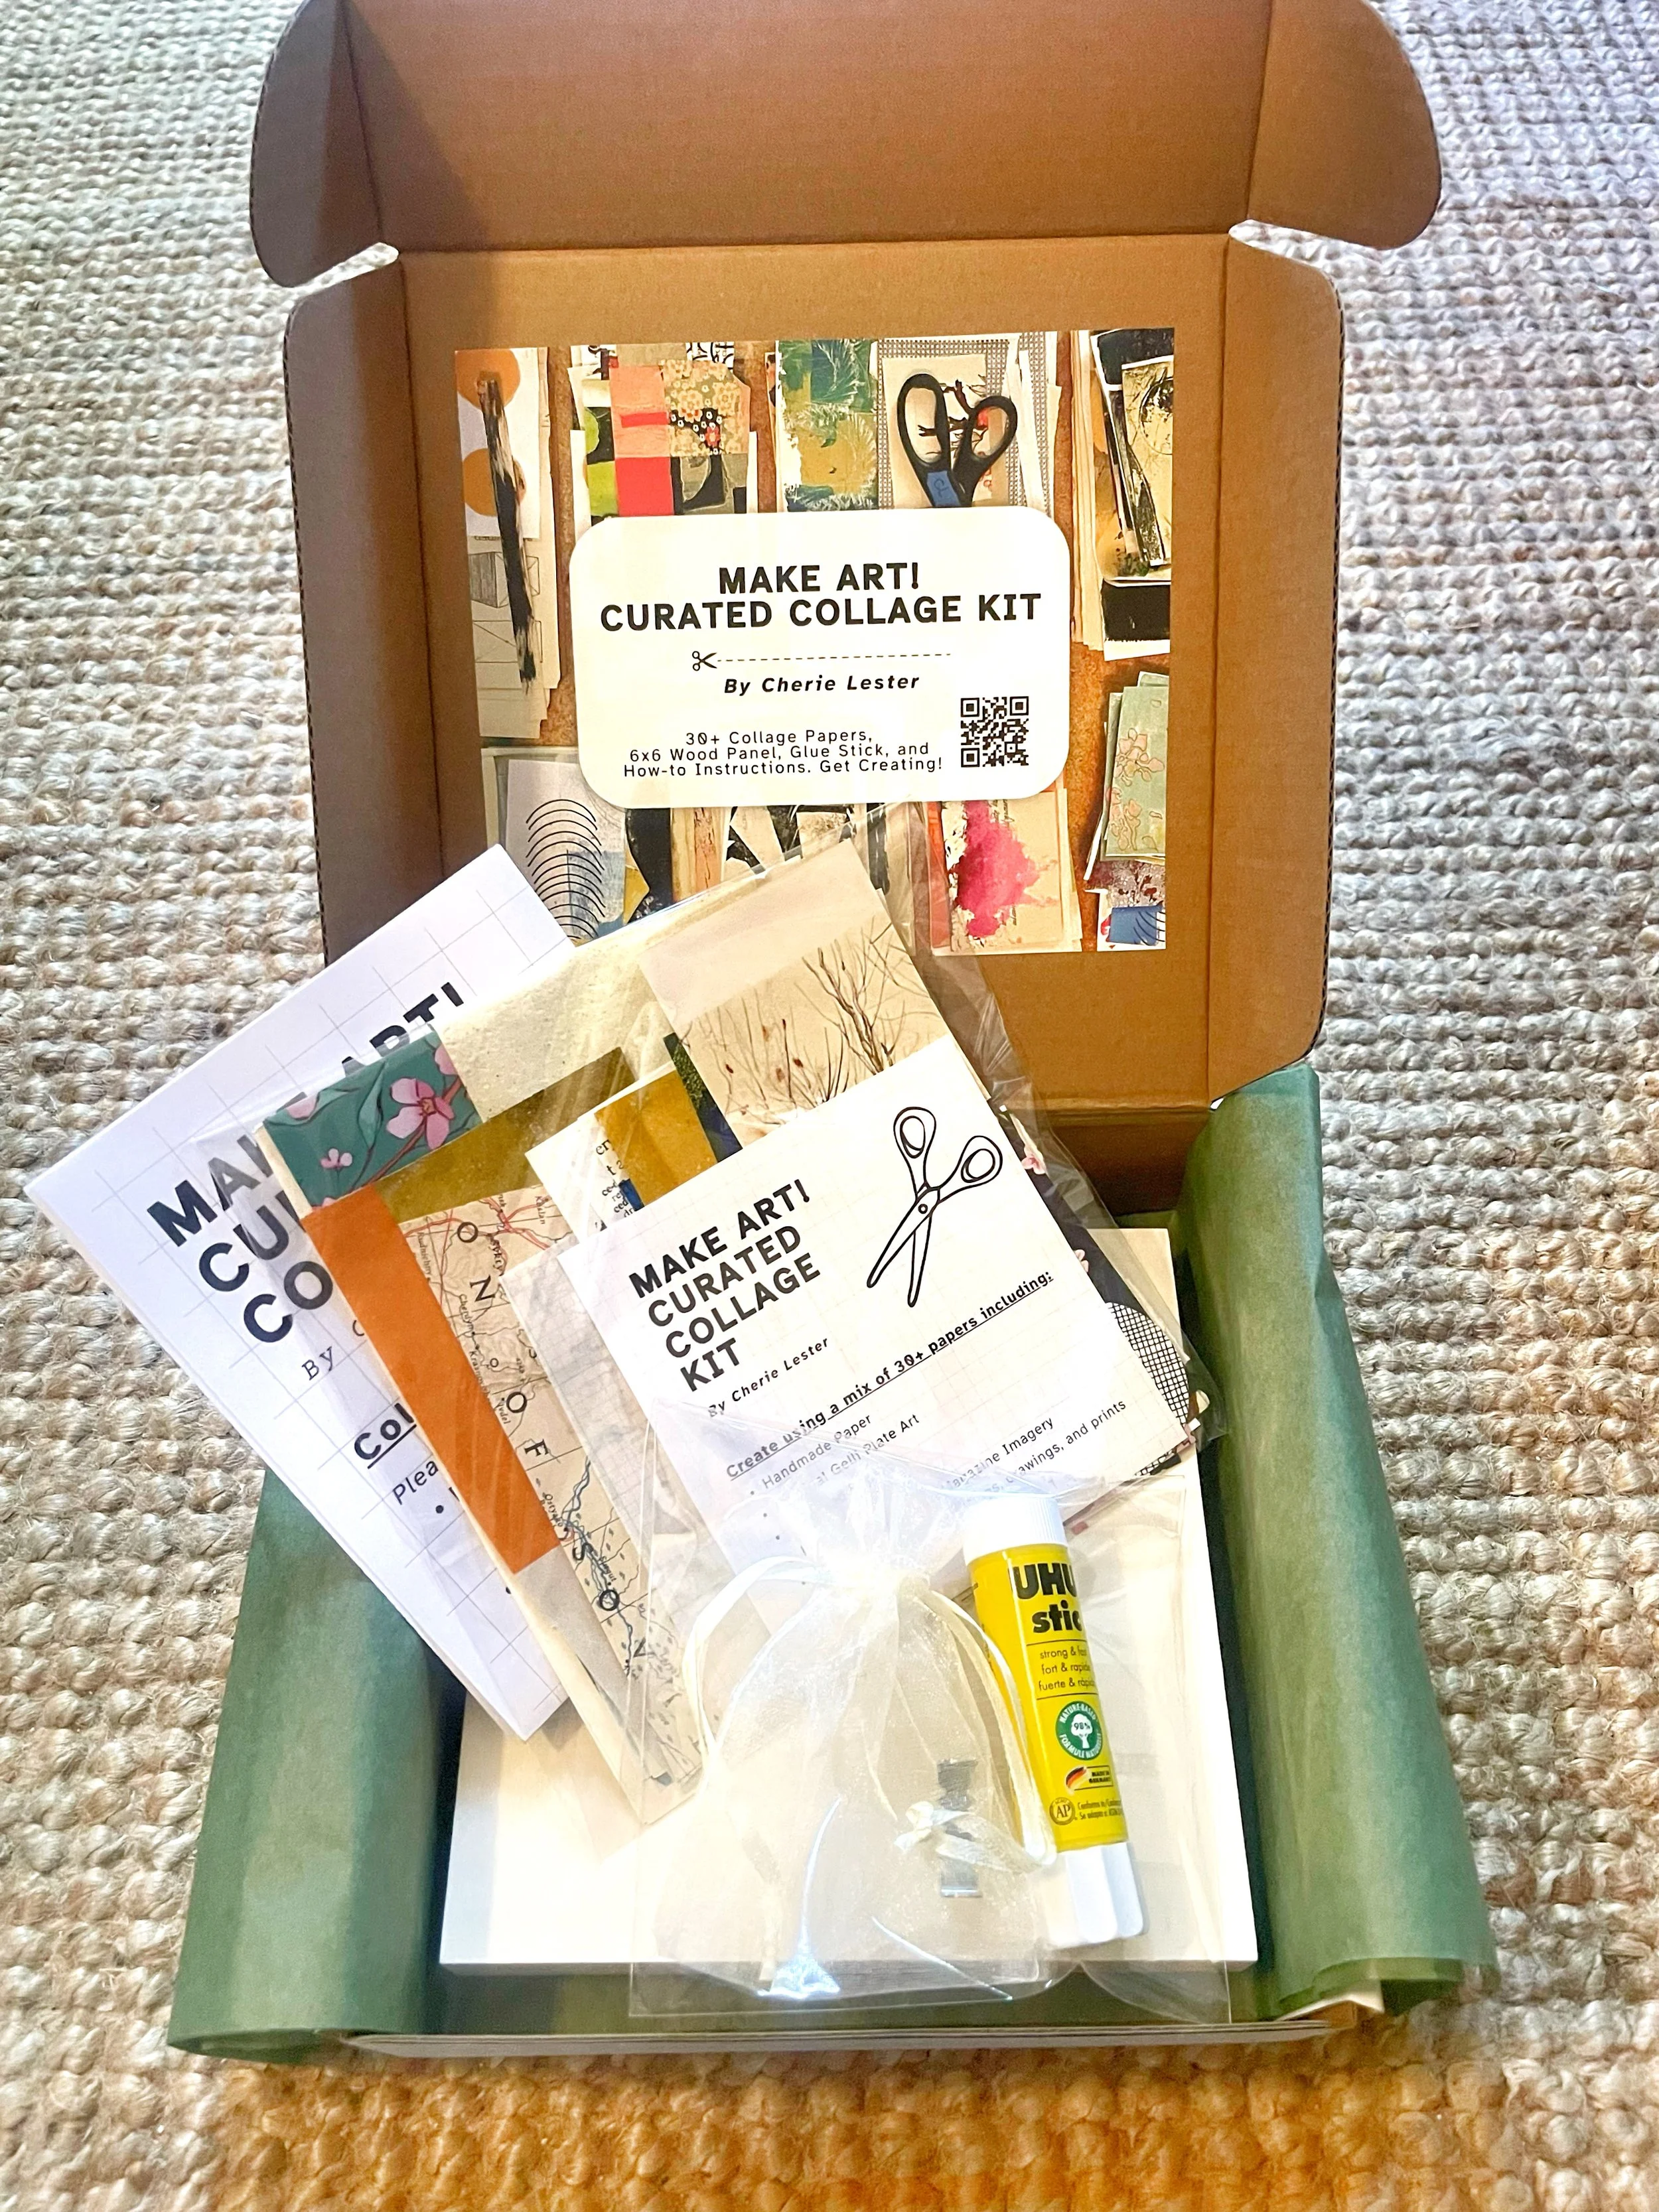
Each abstract art kit includes:
A Mix of Abstract Collage Papers: Handmade Paper, Original Gelli Plate Art, Recycled Paper, Found Paper, Vintage and/or New Magazine Imagery, Pieces of Original Paintings, Drawings, and Prints, Old Book Pages, and more! 30+ pieces come with the 6x6 and 45+ with the 10x10. You will have plenty of paper to choose from with enough leftover to begin a new project!
One Cradled Natural Pine Wood Panel (6x6 or 10x10)
Archival UHU Permanent Glue Stick
How-to Instructions.
Metal Hook for Hanging (optional)
A QR code linking to this page for more information. (below)
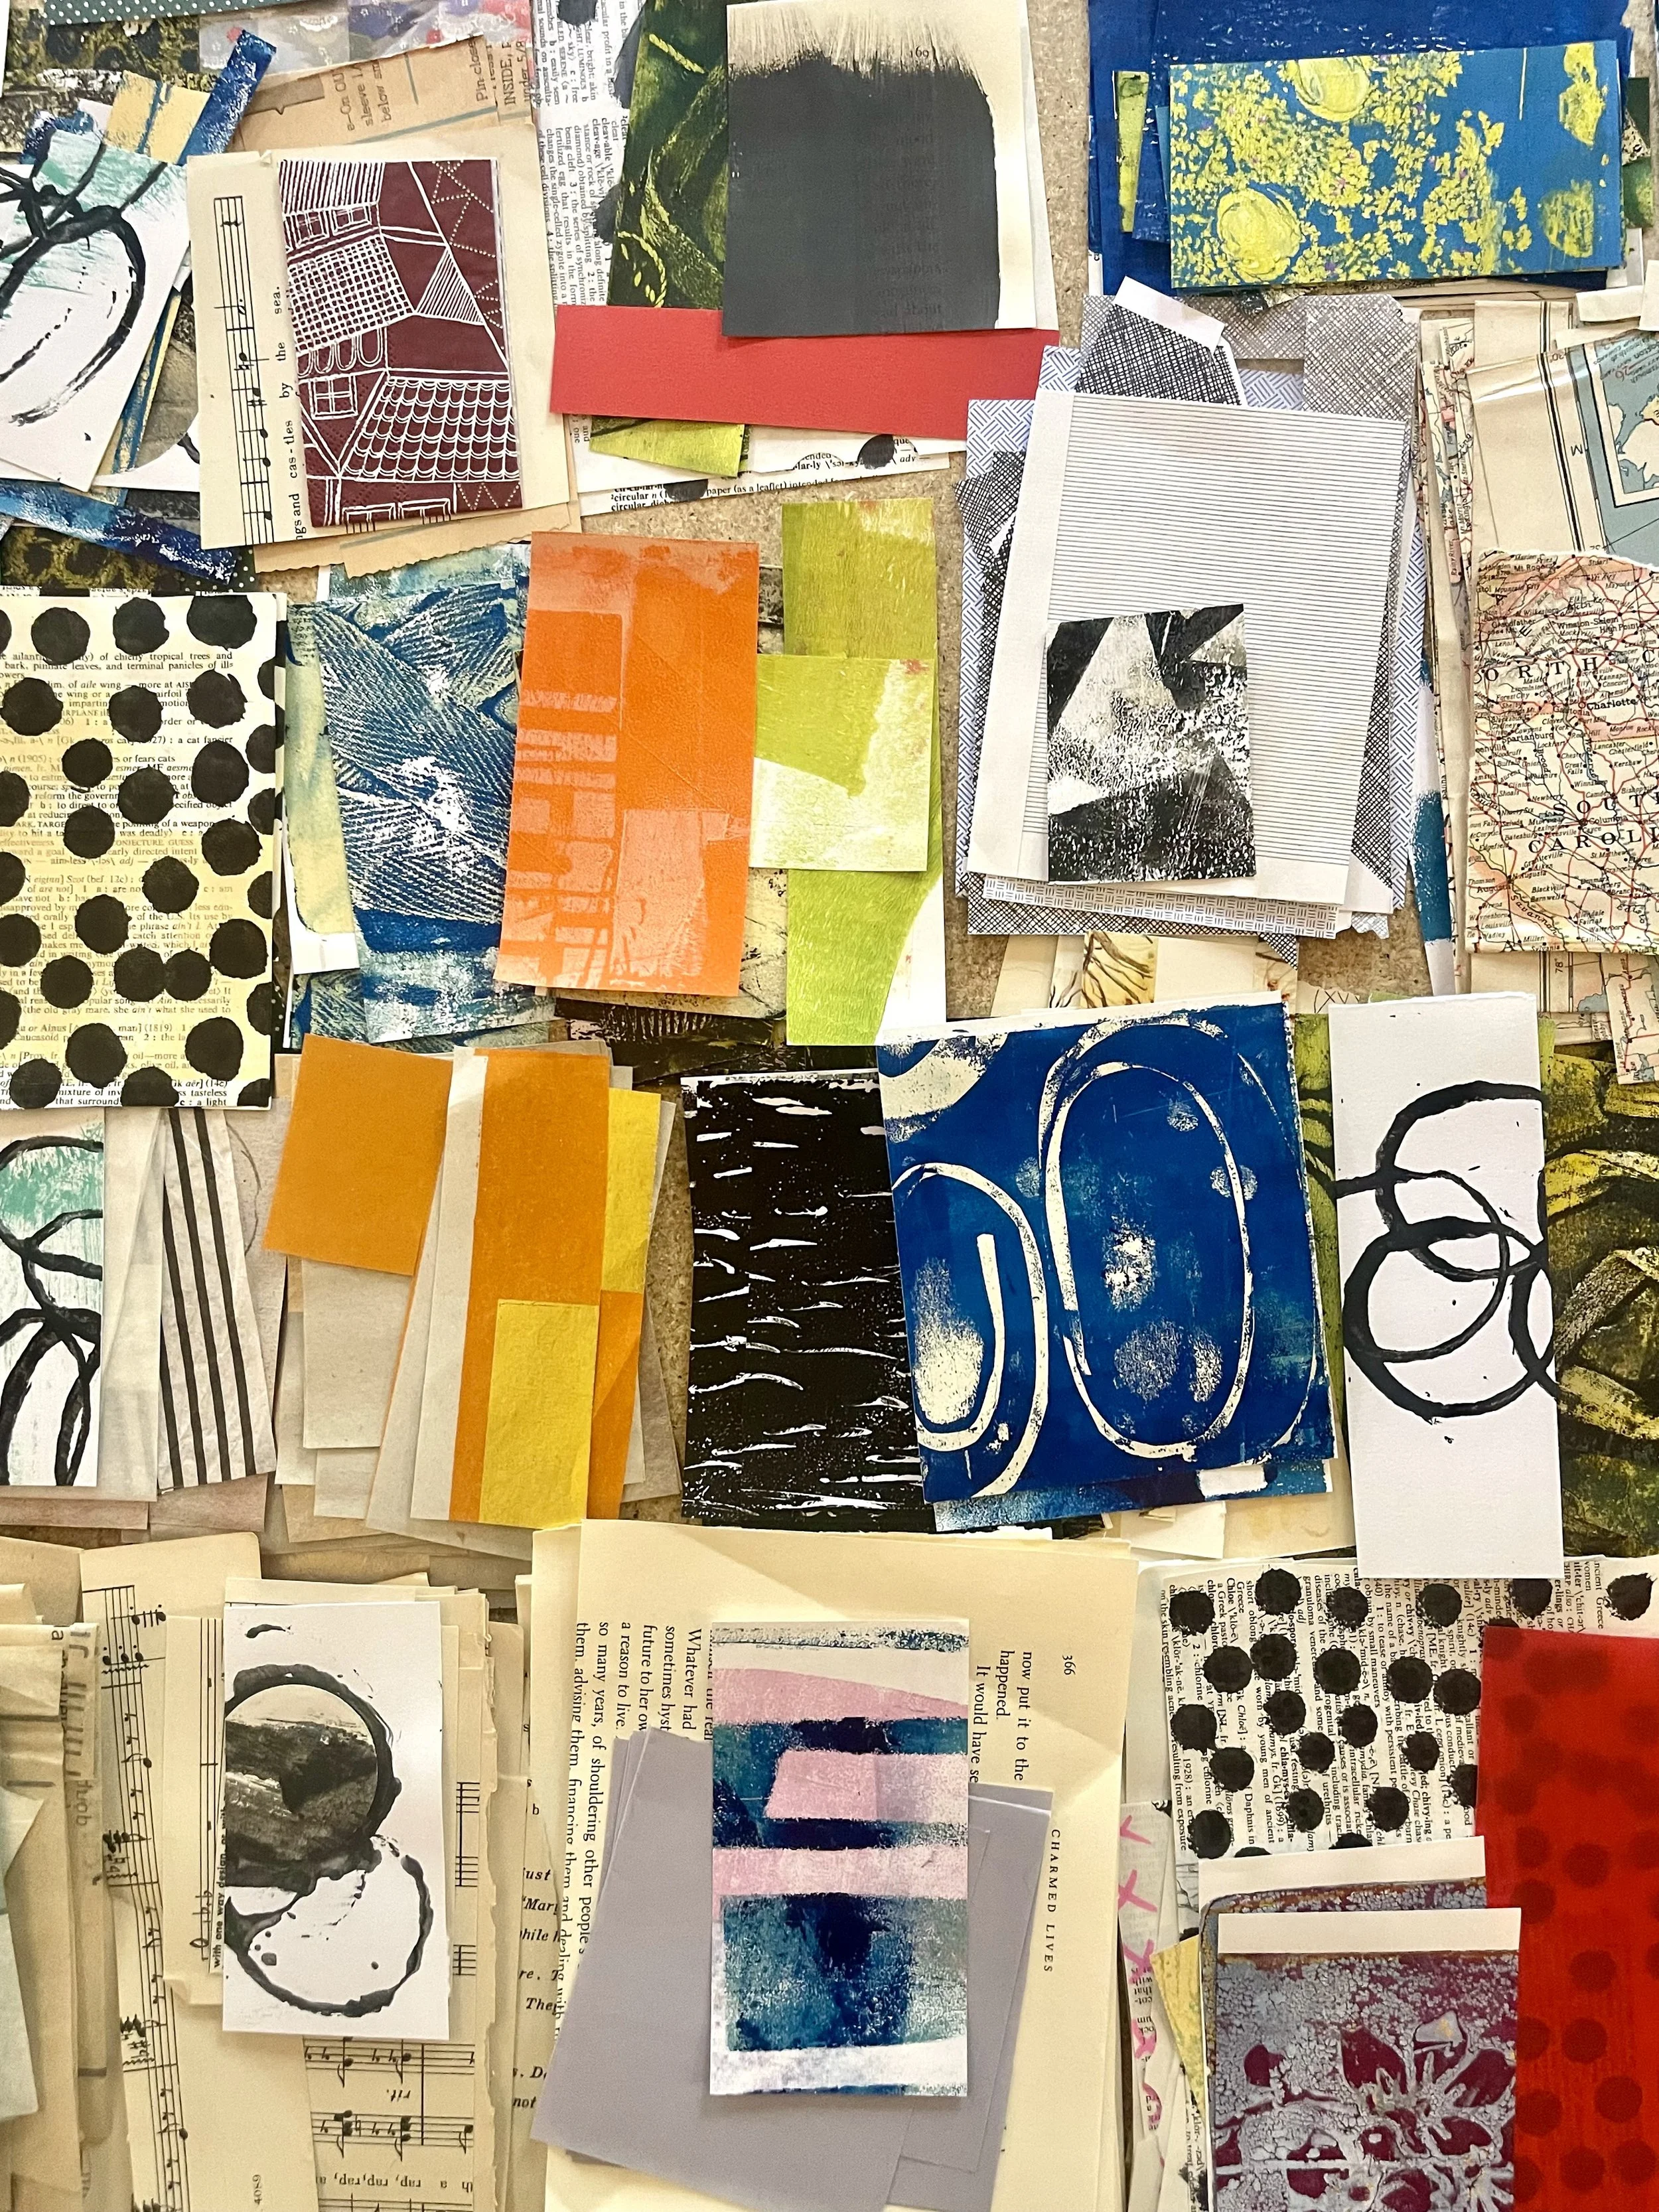
A Mix of Abstract Collage Papers Included in the Kit: Handmade Paper, Original Gelli Plate Art, Recycled Paper, Found Paper, Vintage and/or New Magazine Imagery, Pieces of Original Paintings, Drawings, and Prints, Old Book Pages, and more! 30+ pieces come with the 6x6 and 45+ with the 10x10.

6x6 Curated Abstract Collage Kit - ($42)


10x10 Curated Collage Kit - Abstract Art ($55)


Make Art! Curated Collage Kit Collage Kit Instructions:
Please read through before getting started...
Be sure to have a clean rag nearby to wipe up any excess glue. You’ll also need a pair of scissors or an Xacto knife, if preferred.
Remove papers from the envelope and begin laying out a composition on the 6x6 wood panel. Take your time and be sure to experiment! Tip: Book pages make a nice first layer to build upon – layering paper pieces creates depth and dimension.
Cut or tear collage papers to the desired shape and size (keep your scraps for next time!) Don’t feel you need to use all of the paper included in the kit - you will probably have several pieces left over. I wanted to give you CHOICES! Tip: Tearing can create a more organic, rough look, while cutting provides cleaner lines.
Feel free to include your own collection of papers, photos, or ephemera in your piece.
Place your wood panel on a surface you don’t mind getting a little messy. The wood panel is made of sturdy natural pine, and depending on the look you prefer, you can collage just the top surface of the panel or extend your collage to cover the edges.
Once you’ve decided on your composition, begin layering paper onto the top side of the wood panel (flat side) using a single layer of the UHU Permanent Glue Stic. Apply a good coating of the glue to the back of the piece you are ready to collage and press down firmly, especially on the corners, until the collage piece is secure. The UHU Glue Stick is acid-free, non-toxic, dries clear, wrinkle-free, and is washable.
Consider adding accent pieces or embellishments like paint or acrylic markers to enhance your collage.
Optional: You can seal your finished piece with a layer of matte medium, gloss medium or Mod Podge, if desired.
Optional: Sign the back of your work and lightly hammer the included metal ‘U’ shaped hook to the back of your piece in the center of the top ledge. Alternatively, the piece should hang straight on the wall with just a nail (or 2) if you do not want to use the hook. This piece can also stand on a bookshelf or fireplace mantel.
Happy art-making! – Cherie